The Application of 3D Laser Scanning Metal Mine Goaf Survey
|
In the deep mining of mines, not only has high requirements for mining technology, but also poses a great threat to the safety of mining. In order to ensure the effective and safe operation of mining work, 3D laser scanning technology is used as an advanced measurement technology. , Has been gradually applied in mining. The article analyzes the application of three-dimensional laser scanning technology in the measurement of goafs in metal mines, and provides references for people in the same industry. |

In mining, geological surveying and mapping work is very important, and the quality of its work is directly related to the effectiveness and safety of the mining work. With the continuous development of science and technology, many advanced technologies have been developed and used, and the three-dimensional laser scanning technology has significant advantages. It has high accuracy in the measurement of goafs in metal mines and realizes effective control of the mining working environment. Provide a basis for the formulation and development of the mining work plan.
1 3D laser scanning technology
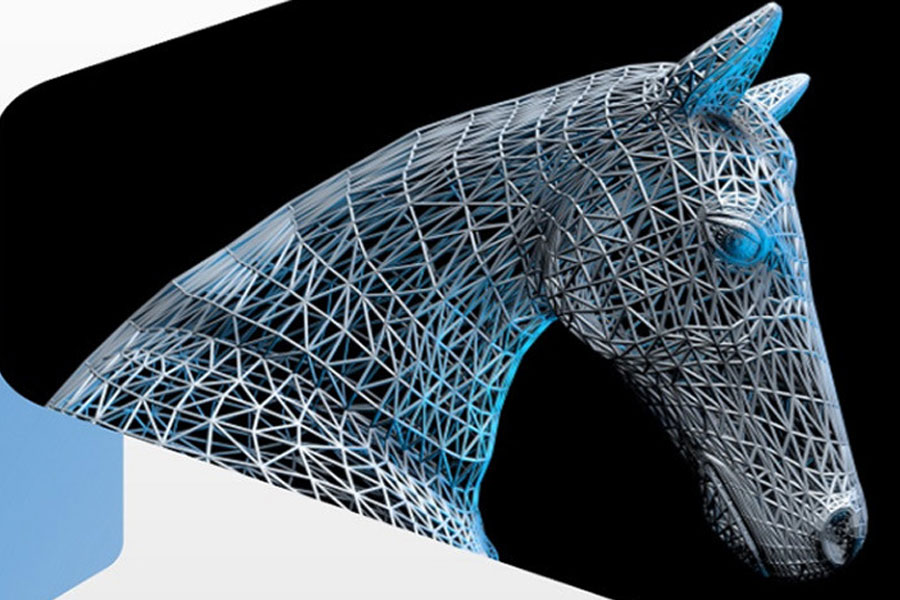
This technology is also called the technology of real-world copying. It is a high-tech type that gradually appeared in the 1990s and has been widely used in the field of surveying and mapping. In the use of this technology, the high-speed laser scanning measurement method can realize high-resolution and large-area information such as the coordinates (x, y, z), reflectivity and color (R, G, B) of each point on the surface of the object. Quickly obtain, through such a large amount of dense point information, a 1:1 true color three-dimensional point cloud corresponding model can be quickly reconstructed, which provides an effective basis for subsequent processing and data analysis.
This technology has significant characteristics, such as fast, efficient, non-contact, strong penetration, dynamic, digitization, high density and high precision, etc., which effectively compensates for the lack of technical development of spatial information at this stage, and realizes the traditional single point A breakthrough in the measurement method. This technology can provide three-dimensional point cloud data information on the surface of the scanned object to obtain a high-precision and high-resolution digital terrain model.
With high-speed laser scanning measurement method, the three-dimensional coordinate data of the surface of the object to be measured and High-resolution and large-area information such as a large number of spatial points can be quickly obtained. It is a new technology that realizes the rapid construction of three-dimensional image models of objects.
2 Principles of 3D laser scanning technology
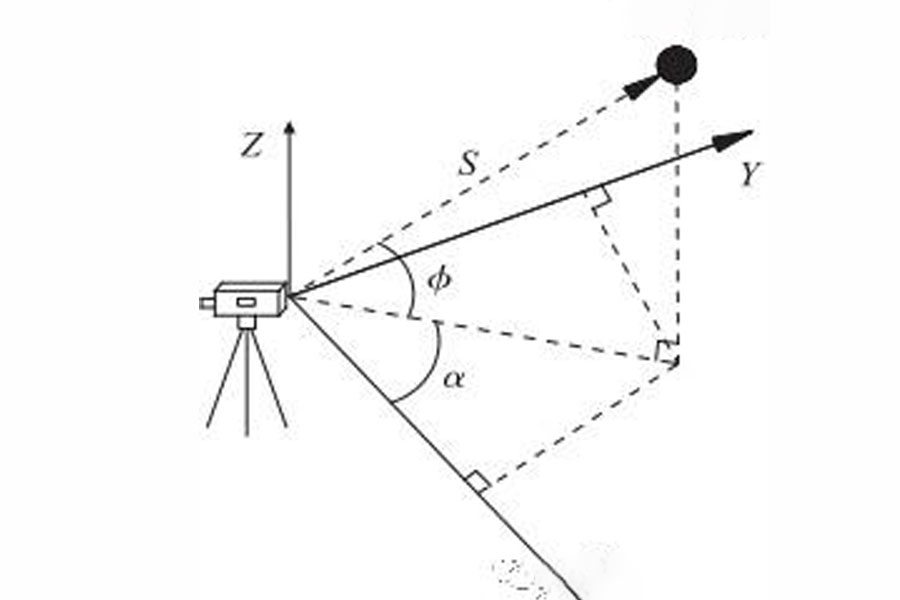
This technology mainly uses the measurement of polar coordinates to effectively obtain the data of the spatial coordinates of the measured object. The traditional scanning method is cloud computing, which scans the surface of an object to obtain three-dimensional data of displayable geometric figures. This technology mainly relies on the principle of laser ranging, because the combination of 3D laser scanning equipment and target laser ranging equipment and angle measurement system can quickly measure objects in complex spaces and objects closely related to laser points.
Data such as horizontal direction, reflection intensity, slant distance, etc. are directly obtained, and they are calculated and stored by themselves to obtain point cloud data. It can be measured at a distance of more than 1000m, and the scanning frequency can reach hundreds of thousands/s
After that, the scanned data is transmitted to the computer through the TCP/IP protocol, the scene image is transmitted to the computer through the USB data line, and then the computer is used to process the point cloud data, and then the three-dimensional model of the measured object is connected with the CAD Redesign. The principle of laser ranging is shown in Figure 1.

3 3D laser scanning technology in the measurement application of the goaf of metal mines
Taking Hunan Xintianling Tungsten Industry as an example, the application of three-dimensional laser scanning technology in the measurement of goafs in metal mines is analyzed. The area of this mining area is 7.7245m2, and the transportation is very convenient. Due to the needs of production accounting and protection and monitoring of mining areas, three-dimensional laser scanning technology must be used to scan and measure the underground goaf, the volume of the goaf is calculated through the real scanned data, and the construction of a three-dimensional solid model is implemented. Presenting underground mines in a computer is an effective basis for the digital development of mining areas.
3.1 Layout of the control network in the goaf
In the use of a three-dimensional laser scanner, the coordinate system used is mainly to use the scanner as the center to implement the construction of an independent coordinate system. To transform each independent coordinate system into a unified coordinate system, it is required to introduce the coordinate control points in the coordinate system measured in the mining area to the mined-out areas in various places, and the scanning of each station can be used to With the target scanning with common authentic coordinates, the coordinate system of the point cloud data can be effectively unified, and the coordinate system of the point cloud data and the coordinate system of the mine area measurement can also be unified. Therefore, it is necessary to reasonably arrange the control points of the measurement around all the underground goafs in the form of the wire form of the photoelectric distance measurement through the total station.
3.2 Carry out 3D laser scanning processing
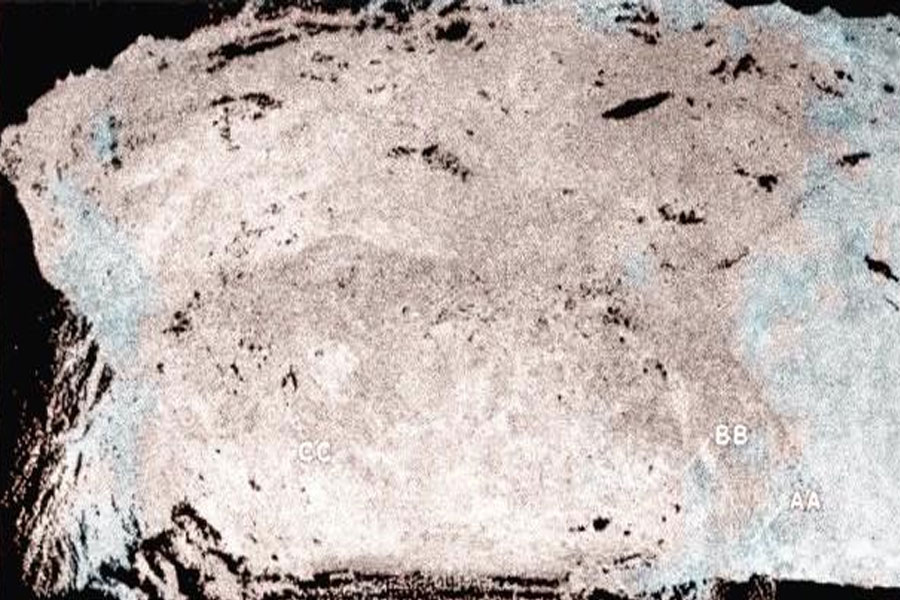
In the work, this mining area uses the Leica 3D laser scanning equipment to carry out sub-station scanning of each goaf (see Figure 2), and 3 targets are arranged in each station, and each station is scanned at the same time. 3 The target is scanned and measured and the geometric center of the target is fitted, then the three targets have a relative spatial relationship in the independent coordinate system of the scanned data; When measuring the center coordinates of the target geometry, the three targets are in the local coordinate system and there is a relative spatial relationship. The geometric centers of these three targets are regarded as the common point, and the point cloud splicing of the subsequent office data During this period, the point cloud data in each station was spliced and the independent coordinate system of each station was converted into a local coordinate system.

3.3 Processing of internal business data
In the processing of office data, it mainly includes data splicing, data thinning, data virtual measurement, three-dimensional entity model construction of goaf, and cross-sectional data extraction.
First, extract the scanner data through Leica software, and perform stitching processing on the scanned data, and implement the cloud data of each site through the accurate scanning target of the field and the center coordinates of the measurement target of the total station. For splicing processing, the splicing error of the target of this project is within 2mm.
Because the point cloud data collected by 3D laser scanning has a huge amount of data, this huge amount of data needs to be processed by specific software. At this stage, the commonly used CAD software and surveying software cannot effectively process this huge point cloud data, so , Before importing the point cloud data, the data should be thinned out. The data can be thinned out according to the equal interval method, which can not only ensure that the point cloud data has good accuracy, but also reduce the impact of massive data on the processing speed.
After completing the thinning of the microdata, treat such data as the original data, and generate a three-dimensional model through professional software such as 3Dmine and Cyclone. Based on the three-dimensional model, it is possible to accurately calculate the volume and cross-section of the mined-out area, and to extract contours and various other required information to provide accurate and comprehensive basis for subsequent work.
Link to this article: The Application of 3D Laser Scanning Metal Mine Goaf Survey
Reprint Statement: If there are no special instructions, all articles on this site are original. Please indicate the source for reprinting:https://www.cncmachiningptj.com/,thanks!
 PTJ® provides a full range of Custom Precision cnc machining china services.ISO 9001:2015 &AS-9100 certified. 3, 4 and 5-axis rapid precision CNC machining services including milling, turning to customer specifications,Capable of metal & plastic machined parts with +/-0.005 mm tolerance.Secondary services include CNC and conventional grinding, drilling,die casting,sheet metal and stamping.Providing prototypes, full production runs, technical support and full inspection.Serves the automotive, aerospace, mold&fixture,led lighting,medical,bicycle, and consumer electronics industries. On-time delivery.Tell us a little about your project’s budget and expected delivery time. We will strategize with you to provide the most cost-effective services to help you reach your target,Welcome to Contact us ( [email protected] ) directly for your new project.
Link to this article:The Application of 3D Laser Scanning Metal Mine Goaf Survey
Reprint Statement: If there are no special instructions, all articles on this site are original. Please indicate the source for reprinting.:ODM Wiki,thanks!^^